DIY: Solar dehydrator
Stephen Palethorpe describes a solar dehydrator construction project.
This is a fairly straightforward DIY for anyone with good DIY construction skills, although it involves handling glass sheets. The dehydrator was made from leftover building materials.
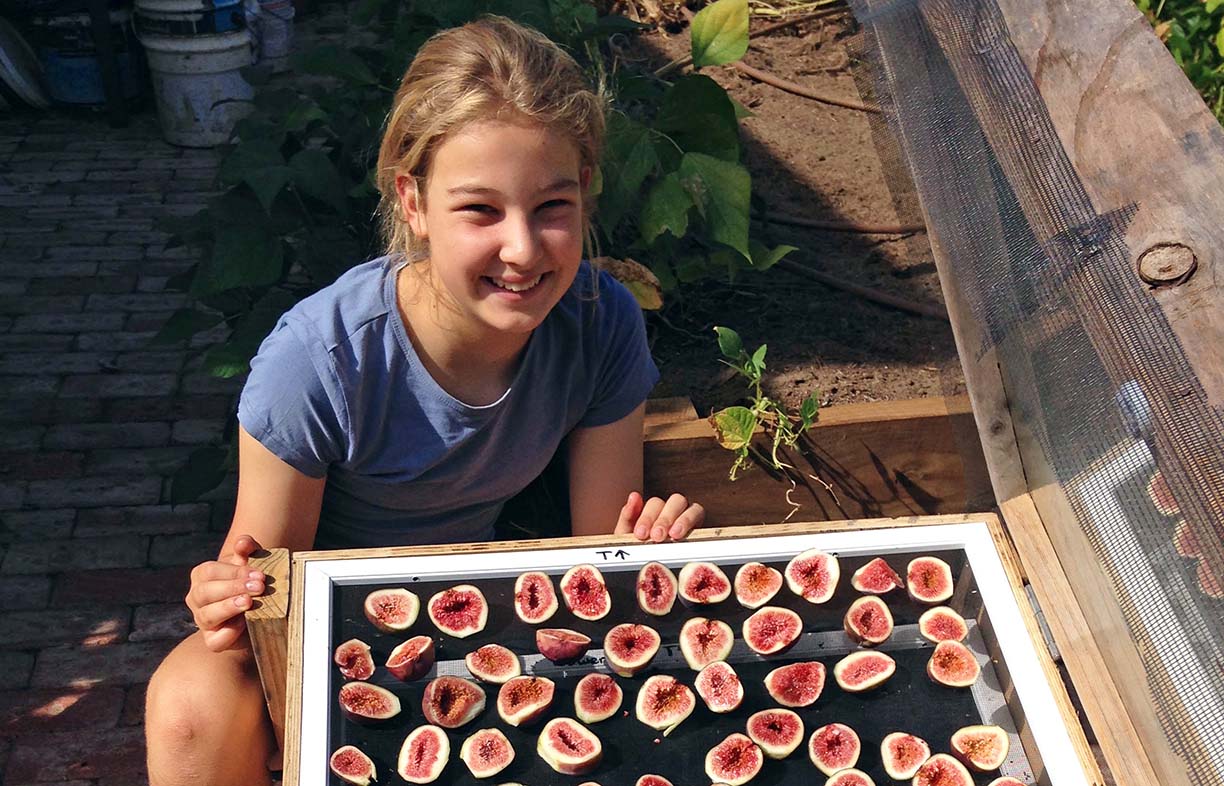
On a fine sunny day, it easily reaches temperatures of 50 °C to 60 °C and will comfortably dehydrate a kilogram or two of fruit. We use it to dehydrate surplus summer produce such as figs, tomatoes and bananas. If you store them appropriately, the dehydrated fruit will last for many months.
You need to be a bit handy with some basic tools (saw, drill, screwdriver), but overall it’s a pretty manageable project.
Basic design
There are many designs for solar dehydrators on the web ranging from highly sophisticated, multi-level efforts to really basic models. I opted for the latter—I’m a little embarrassed to admit it but I based mine on a design from a US survivalist website!
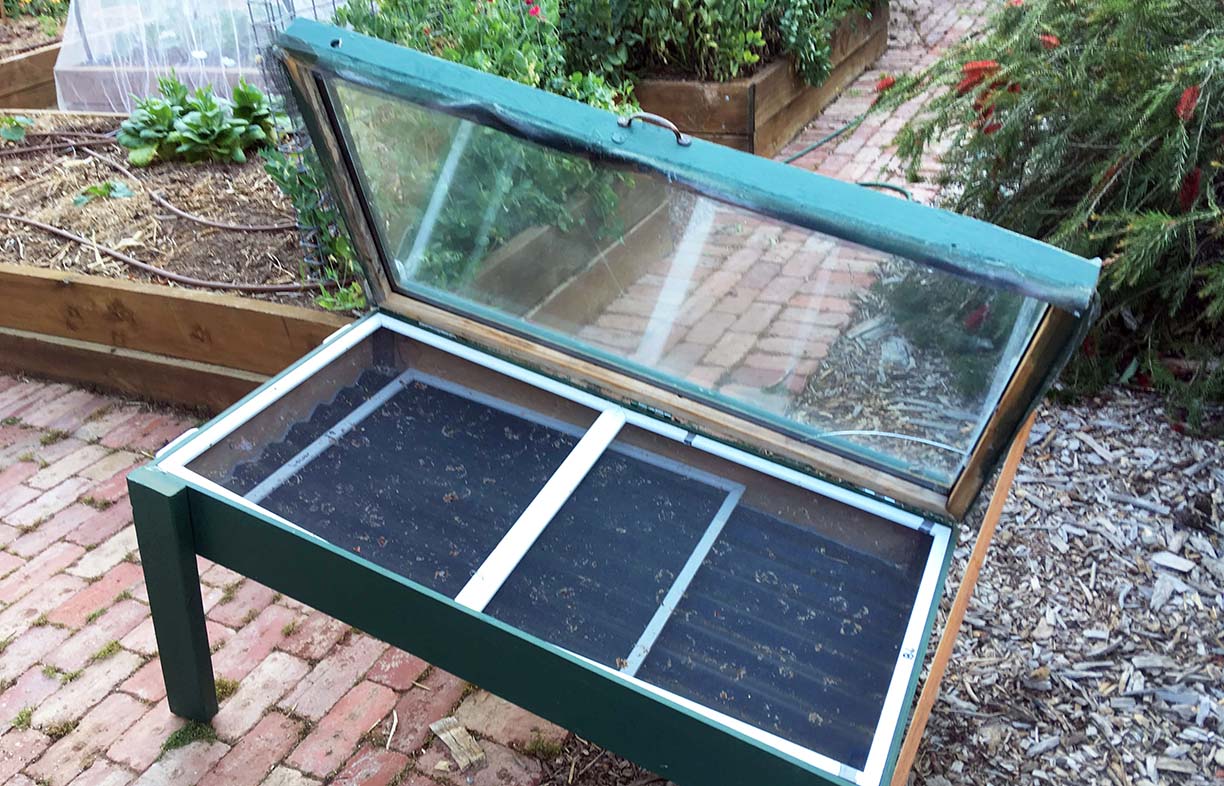
The frame for the dehydrator is a shallow wooden box with a glass-topped hinged lid. Inside the box is a corrugated metal sheet, painted black to absorb the sun’s heat. I filled the base of the box, below the corrugated metal sheet, with sand, to add a little thermal mass to keep the temperature elevated even when there’s intermittent cloud cover.
Above the black metal sheet are drying racks made from (unused!) fly screens to allow plenty of airflow.
I fitted two old trolley wheels under the front of the dehydrator and two handles at the rear so it can be moved around easily.
When closed the box is approx 650 mm wide, 1250 mm long and 220 mm deep. The 220 mm depth is made up of the drying base section, which is 150 mm deep, and the glass lid which is 70 mm. The box is inclined to approx 15° using two struts at one end.
Materials
Here are the materials I used:
- 10 mm ply for the sides and base; we had leftovers lying around for this!
- Some small timber blocks
- Two pieces of 35 x 70 mm untreated pine for legs to angle the dehydrator (don’t use treated timber in the dehydrator)
- Four lengths of 35 x 70 mm pine for the lid
- A double-glazed window for the glass pane; we had a cracked pane left over from the house we built several years ago (I reckon we are one of the few solar dehydrator owners with a double-glazed lid!)
- Corrugated iron sheet sized to the dimensions of the unit, painted black with chalkboard paint
- Flyscreens (fibreglass—don’t use aluminium flyscreen mesh as it may react with acids in the fruit. Use only fibreglass or, preferrably, polyester such as Cyclone Petmesh) for the drying racks; we’d bought these for our windows, but they didn’t fit, so we repurposed them
- Two trolley wheels
- Three 75 mm butt hinges or similar
- Three handles (one to open and close the lid and two at the rear to manoeuvre the dehydrator). If you have a friend to help you move the dehydrator you could do away with the trolley wheels and add a couple of extra handles at the front
- A thin piece of timber to use as a strut to temporarily prop the lid open
- Wood screws and roofing screws
- Silicone sealant
- Several 5 mm rubber bumpstoppers to create a small air gap when the lid is closed
- Extra flyscreen to cover the gap
- Wood tacks
- Sand for thermal mass.
Construction
First, I cut the base and side timber to size (based on the size of the glass sheet). I fixed them together using standard timber screws and reinforced the structure by inserting timber blocks into each corner. By making the blocks shorter than the height of the timber, they don’t come to the top edge of the base, so these double as rack supports.
I then installed the black corrugated iron sheet in the base of the box, with as much sand as would easily fit underneath for some extra thermal mass. I used some regular roofing screws to fix the sheet in place and put a bead of silicone sealant around the edge of the sheet so the sand wouldn’t slowly leak out over time.
I then cut the lid timbers to match the box base dimensions, so the lid would sit flush. I used a router to cut a 10 mm deep rebate into the four lengths of 35 x 70 mm pine which make up the lid to fix the glass in place This could also be done using a timber bead fixed along the lengths of pine to seat the window (this would require fixing below and above the glass to ensure it is securely held in place). A thin bead of silicone around the glass will ensure it’s water tight.
I then hinged the lid to the base along one of the long sides (put one hinge near each end and one in the middle) and installed a handle on the other.
The glazed lid is fairly heavy (especially if it’s double-glazed!) so be careful not to allow the lid to flip over as it may easily smash. I added a timber strut to hold the lid open. This is a thin piece of timber with a hole in either end. One end is screwed loosely to the unhinged side of the front outside of the box. There is a screw on the other side of the box which the strut rests on (roughly parallel with the ground) when not in use. When the lid is opened, to hold it in place (as seen in the photos) the strut is rotated up about 30 degrees and a loose nail is inserted through the strut into a hole in the lid. The strut is sufficient to keep the lid propped temporarily open while the drying trays are either loaded or unloaded, but I don’t use it to hold the lid open for long periods, as wind can tip the dryer over, so make sure you keep the lid closed when not loading or unloading.

So they are more manageable, I made the drying racks the same width as the box but half the length (they are about 600 x 600 mm). The box is deep enough to have two layers of drying racks—the third tray is positioned half way between the top trays and the corrugated sheet. I installed a number of small screws to sit the trays on.
On the front underside of the box I installed trolley wheels on either corner. Then I added two 35 x 70 mm pine struts cut to the correct height to the rear corners to achieve a 15° angle. I painted the timber parts so that it will withstand being out in the blazing sun.
To reduce drying time (and to soften the lid closing) I added several 5 mm bumpstops to the underside of the lid. This creates a 5 mm gap between the base and the lid which increases airflow and aids drying. This gap is narrow enough, and the lid heavy enough, that even a strong wind can’t lift the lid.
To prevent critters or flies, I tacked a narrow skirt of flyscreen around the lower outside edge of the lid so when the lid is closed the flyscreen covers the 5 mm gap. Because the dryer is on an angle, warm air is expelled from the top by convection, which draws fresh air in from the bottom. This creates a constant airflow across the fruit which helps the drying process.
And finally, just add fruit and sunshine!
Safety note
Safely constructing a sturdy glass lid can be tricky. Not all the information you need to do this is in this DIY. If you are unsure about any aspect of it, seek help from a professional or source one that is pre-made in a frame—an old window for example.
We recommend using safety glass for the glass lid as this will be much safer if it breaks during construction or in use.
When working with glass, wear eye protection, rubber gloves, a long-sleeved shirt, full-length pants and robust, fully-enclosed footwear. Plan your job before moving the glass and work in a safe, cleared space free of hazards.
Further reading
 DIY
DIY
Bring on the electric ute
Bryce Gaton asks, will 2023 be the Australian ‘Year of the electric light commercial vehicle’?
Read more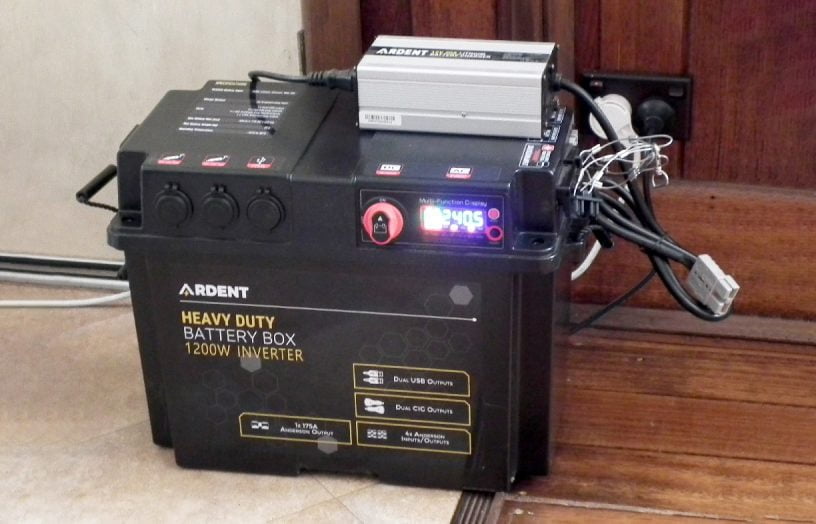 DIY
DIY
Deleting the genset
If you have the need for the occasional use of a generator, then why not replace it with a much cleaner battery backup system instead? Lance Turner explains how.
Read more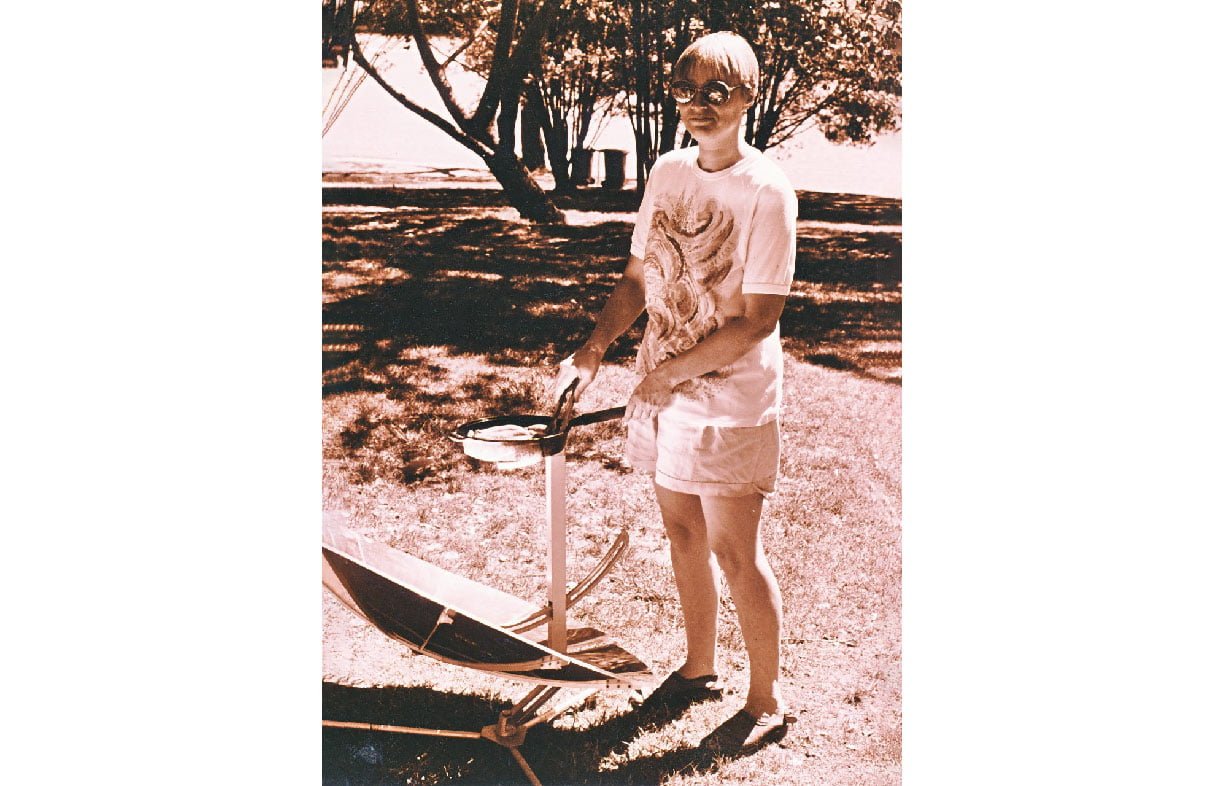 DIY
DIY
Aussie women: the solar power pioneers
Sun Source was Australia’s first solar panel retailer, started by a hippy woman nearly 50 years ago. Kassia Klinger uncovers the story.
Read more