Visible mending
Visible mending is easy, fun, gorgeous and keeps old clothes from landfill, writes Kasia Zygmuntowicz.
I’m not a professional seamstress, tailor or textile artist, but I’ve always been a bit crafty. I like picking up skills, taking a course now and again, but I’m a magpie about it—a bit of this, a go at that, never really settling or perfecting, going for the next shiny thing. Unfinished projects are stacked high in my back room…
One thing that has stuck with me, however, is my love of saving and reusing, re-purposing and re-making things. This all came from my super-creative parents who taught me to use what’s at hand and to think laterally; to see a matchbox as a handy drawer for a doll’s dressing table or that if you cut a slit in an old blanket you get a poncho, or a very swishy skirt or a tent!
All this came in handy when my son was a toddler. Not only could I build a mean box cubby and cool dress ups, but I had also amassed some skills that helped me in a more pragmatic way.
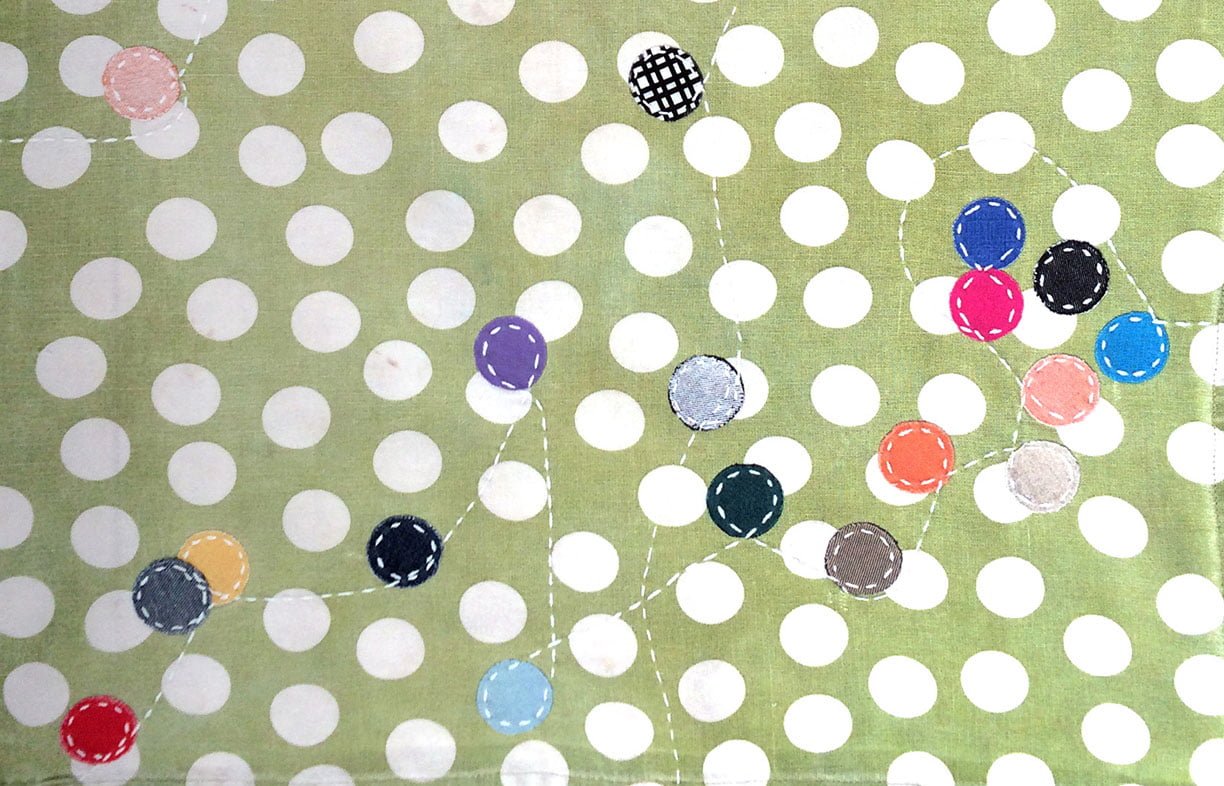
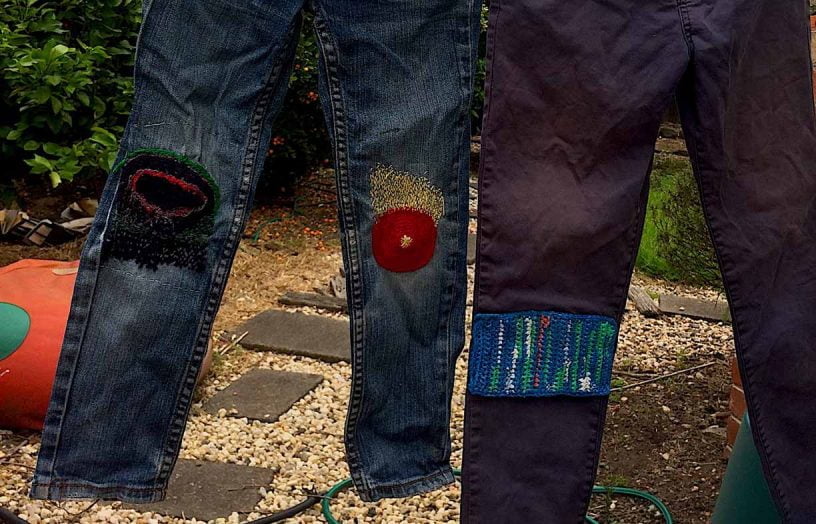
Kids grow out of their clothes really quickly, but not before they manage to wear holes in the knees of their trousers. So I patched them. My way. I crocheted a circle and stitched it over the hole in the knee, and then patched behind it with an old sock that had lost its partner. Patches were often re-darned and re-stitched over and over in patterns and different colour threads. Ever so soft and easy on the knees.
That was it really: that’s how I started on the visible mending journey.
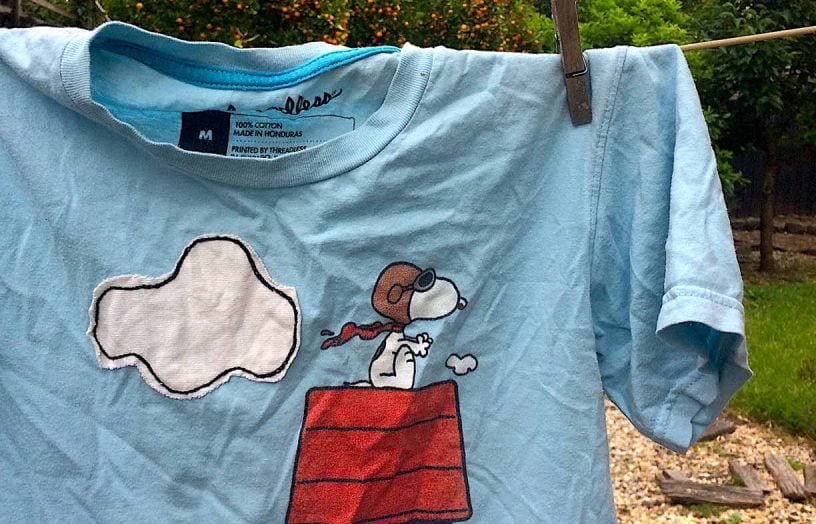
Visible mending can also be camouflage. Kids are messy and sometimes stains just won’t wash out. So I started covering stains with patches to match the t-shirt image; maybe a cloud drifting past Snoopy’s World War 1 flying ace on his Sopwith Camel Kennel. T-shirt saved, child happy, no textile waste (you can’t op shop a stained piece of clothing).
I darn and patch and embellish my family’s clothes, including my own, mostly because it’s fun, but also to slow the garments’ descent to the giant textile waste heap.
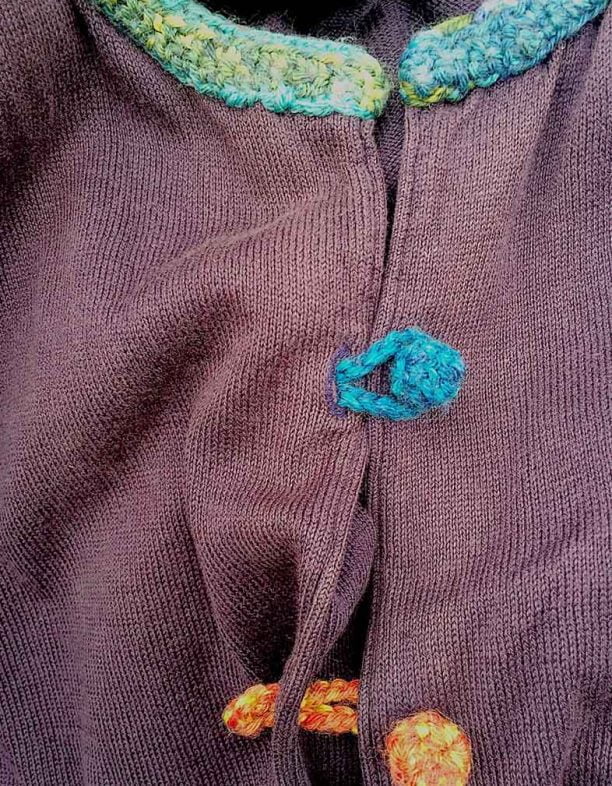
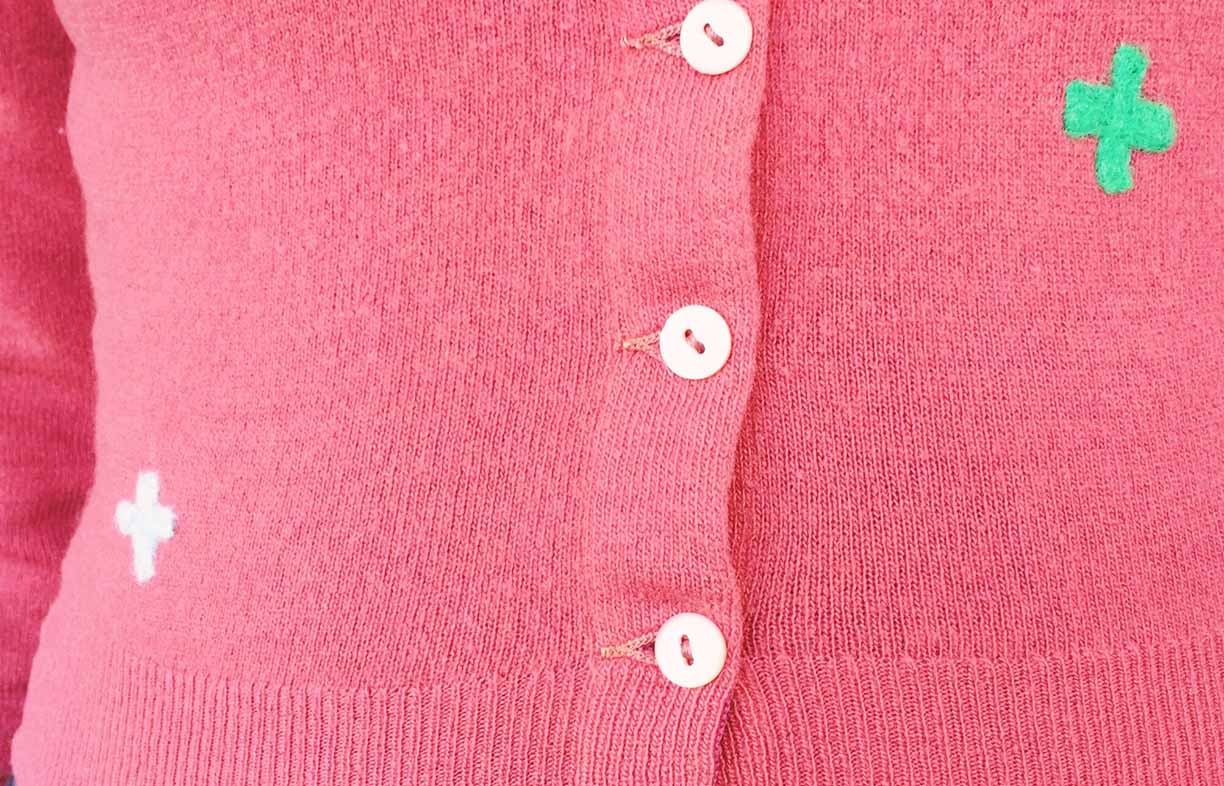
Clothes can be saved, re-interpreted into a new garment. Keep that comfy familiar well-loved cardigan and give it a new character. A frayed collar can be crocheted over, buttons replaced and holes darned or felted with funny little patches. Now you have a less familiar cardigan and a story to share.
Visible mending has been around for a long time, and it’s a broad church. It can include everything from my colourful crazy patching to the Japanese tradition of Boro mending. It can be fun and cheeky, drawing attention to a hole rather than covering it up. And it can be thoughtfully designed and meticulously executed like the works of Tom of Holland or Erin Lewis-Fitzgerald.
An internet search on ‘visible mending’ will lead you to some exquisite examples and tutorials on how to start from scratch. If you aren’t into online tutorials and prefer a one-to-one hands-on style of learning, find your local Repair Cafe. All sorts of repairs are going on there—by the community, for the community, for free! Most Repair Cafes do sewing repairs and some do visible mending too.
I find the best way to try something new is just to start. Find an old pair of jeans you love, that are a bit far gone for anything but gardening and bumming around the house. Do they need a patch?
Gather your materials
- Find an odd sock to use as a patch. Cotton or easy-care machine washable wool is best—100% pure wool will shrink in the wash and pucker-up your patch.
- No sock? Any fabric will do for your first experimental patch—it’s a learning adventure!
- Find another piece of fabric for the outside patch if you want to ‘sandwich’ the hole and make a thick patch.
- Thread—general sewing cotton to sew on the patch and maybe a heavier embroidery cotton to embellish and bring your patch to life.
- Sewing needles—small eye for general cotton thread, larger eye for thicker embroidery cotton.
- Pins to keep the fabric in place while you’re sewing.
- Or forget all that and get some fusible adhesive webbing stuff and iron the whole lot together. Quick, but not as much fun. And it may eventually need stitching to keep it from de-laminating.
Get to it
I like to fit a piece of cardboard or notebook inside the jeans leg, so I don’t sew the front and back of the jeans leg together.
I usually make a sandwich patch over the hole. Sock on the inside, fancy patch on the outside. But you can make a lighter patch with just one piece of fabric on the outside or on the inside, depending on your own artistic vision.
Cut your patch to size.
I often extend my patch from seam to seam across the jeans leg so you can stitch the patch to the seams. You’ll have to sew it on across the leg of course, but a secure stitch on the seams will keep it hanging on.
Pin the patch in place, folding the cut edges under to make a hem and then ‘tack’ the patch on to the jeans. Tacking is just regular in and out sewing but big stitches, to hold the fabric in place.
Once I’m at this stage, I stitch the patch fabric securely to the jeans seams and that done, just go to town.
Japanese Boro technique uses a Sashiko style stitch, which looks like lines and lines of parallel running stitch (in and out sewing close together).
I think this is the easiest technique to start with, running stitch up and down the patch parallel with the leg, or across, or both ways. It quilts the layers of fabric so it’s strong and comfortable too.
Like I said, I’m not a professional and you ‘should’ probably clean up the hole with scissors, cutting off all the daggy bits first and then sew around the hole to stabilise the worn and frayed edges. And any number of other things to help your patch stay strong and last long.
But, we’re on an adventure, aren’t we? So, off you go!
Kasia’s work: www.habertrashery.wordpress.com
Instagram:
@habertrashery
@kaskamaryna
Tom van Deijnen—Tom of Holland
tomofholland.com/about
tomofholland.com/category/the-visible-mending-programme
Erin Lewis-Fitzgerald
www.erinlewisfitzgerald.com/#mendingmedium.com/@erinlewisfitz/mendfulness-40739539116f
Repair Café HQ
repaircafe.org/en
Visible mending
theconversation.com/visible-mending-punks-not-dead-just-patching-itself-up-91226
Related articles
 DIY
DIY
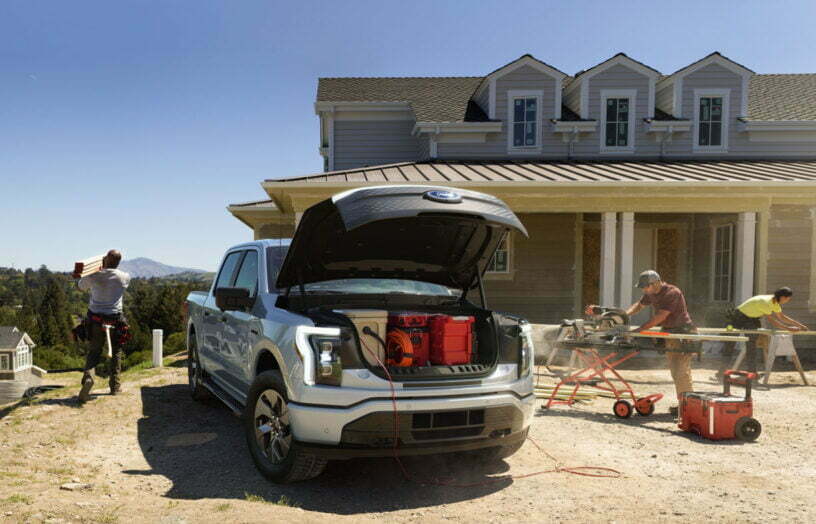
Bring on the electric ute
Bryce Gaton asks, will 2023 be the Australian ‘Year of the electric light commercial vehicle’?
Read more DIY
DIY
Deleting the genset
If you have the need for the occasional use of a generator, then why not replace it with a much cleaner battery backup system instead? Lance Turner explains how.
Read more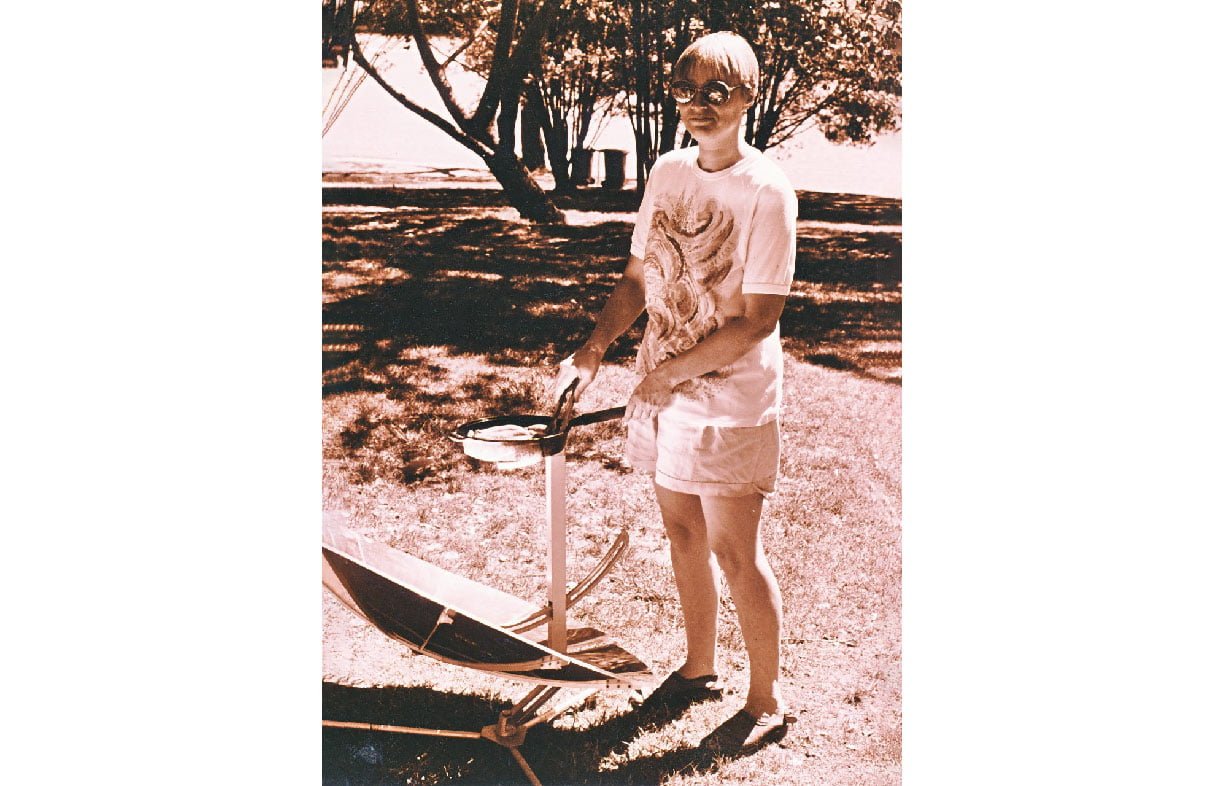 DIY
DIY
Aussie women: the solar power pioneers
Sun Source was Australia’s first solar panel retailer, started by a hippy woman nearly 50 years ago. Kassia Klinger uncovers the story.
Read more