

DIY: Self-watering vertical garden
Margaret Mossakowska shares her simple self-watering system for a vertical garden.
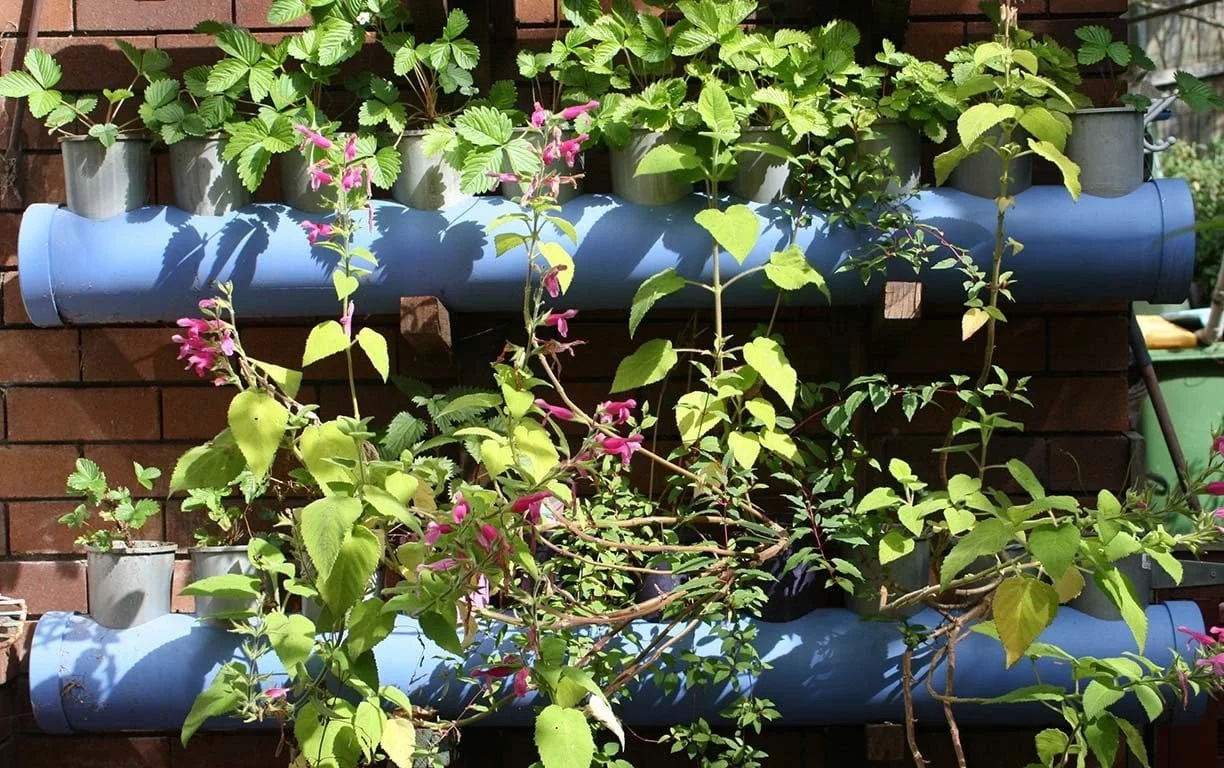
A couple of years ago, I built a small and simple self-watering vertical garden out of four recycled PVC pipes and plastic pots. It hangs on a very sunny wall and holds 39 pots, which I use to grow alpine strawberries, vegetable greens, leeks, larger seedlings and the like.
I’m sharing instructions on how to make such a wicking system to encourage readers to grow food where space is at a premium, such as on balconies, terraces and in townhouses, or in situations where the only sunny areas are the walls of the house.
How does the wicking system work? The pipes are laid horizontally and have large holes drilled in them to hold plastic pots. Long wicks (reaching halfway into the potting mix) are installed in each pot and absorb water from inside the PVC pipe. This allows the bottoms of the pots to sit above the water level, preventing anaerobic fermentation of the soil mix. There are many benefits to this approach:
- Space-saving. For those of us living in apartments with only a balcony to grow things on, or those with small gardens, it makes sense to go vertical.
- Water-saving. In a closed system with water coming directly into the root zone, the main evaporation comes from the plant, not from the soil surface.
- Self-watering. Depending on the size of the plants and the weather, the water can last for several weeks. Lift out one of the pots weekly to check the water level and top it up through the pot-holding opening. You can also fertilise the plants at the same time by adding diluted worm juice or seaweed extract to the water—this is called fertigation.


- No mosquitoes. There is no access to the water which prevents mosquitoes from breeding in the pipe.
- No root disturbance when moving plants. Because each plant sits in its own pot, when you harvest or replace a plant you don’t disturb the roots of its neighbours.
Materials and equipment
- A length of PVC pipe (water and sewage pipes are 100 to 150 mm in diameter, orange electrical PVC pipes come in sizes up to 225 mm)
- PVC caps and silicone sealant to seal both ends of the pipe
- An electric drill and a drill bit with a hole cutter. For a 150 mm diameter pipe, I used the 110 mm cutter size (which fits standard pots 140 mm wide) and 130 mm cutter for larger, non-standard pots
- Pencil and a ruler
- Small metal file or rough sandpaper
- A few palm-sized pieces of flyscreen
- Plastic pots (I sourced mine from a recycling box at a local garden centre)
- Offcuts of geotextile/ag-fabric or another dense, fluffy artificial fabric (polyester fleece or similar) to make water wicks. Simply cut the fabric into 25 cm x 3 cm strips
- Outdoor paint; I suggest painting the pipes to protect the PVC from deteriorating in the sun; use a primer to ensure good adhesion to the PVC
- Materials for the supporting frame as per the section on making the support frame, below.
Method
- Cut the pipes to the desired length.
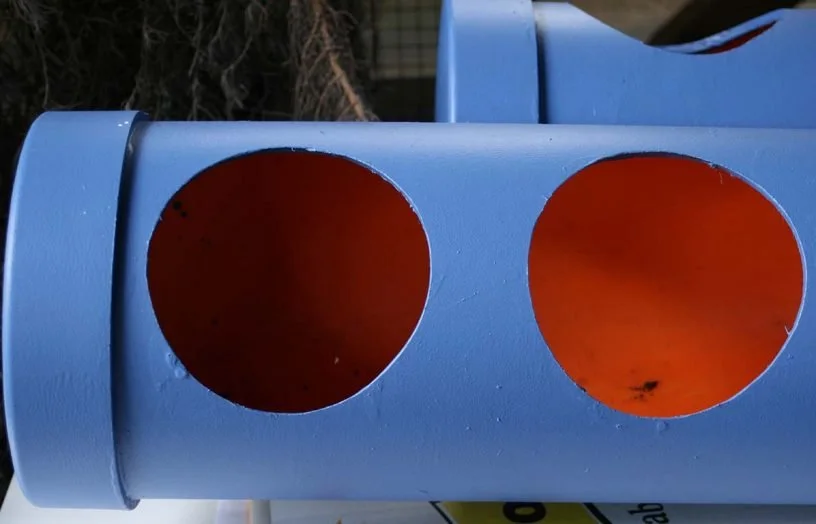
- Draw a straight line along the pipe and mark the centres of pot-holding holes on it; I drilled mine 160 mm apart for 140 mm pots.
- With a normal drill bit, drill small openings in the marked spots; they will serve as anchors for the hole cutter.
- Using the pre-drilled holes, position the hole cutter and drill large holes.
- Using a file or sandpaper, smooth the edges of the holes.
- Place a pot in one of the holes and have a look into the pipe to check how deep the pot sits. This is to determine where to drill an overflow hole in the pipe end caps. The overflow should be about 5 mm below the bottom of the pots to avoid flooding the soil. Mark it on the cap.
- Drill the overflow hole (about 4 to 5 mm wide) in one of the end caps and cover it from inside with a glued-on small piece of flyscreen to create a mosquito barrier.
- Use silicone to glue the caps to the ends of the pipe, making sure the overflow hole is in the right position, about 5 mm below the bottom of the pots. To do the glueing, run a bead of silicone around the inside of the end cap (so that no silicone gets on the outside of the pipe as you can’t generally paint over silicone).
- Paint the pipe.
Making the support frame
There are many options depending on the materials you have available. My frame is built from recycled hardwood fence posts, standing on concrete and screwed to the house’s wall.
Whatever frame you decide to build, make sure it can carry the combined weight of the pipe, as well as pots full of soil and water inside the pipe. My 150 cm polypipes can weigh over 30 kg each when fully planted and filled with water. Don’t use guttering brackets unless your pipe is short as they will bend and collapse, not being designed to bear weight.
Preparing the pots
Push one or two wicks through pot bottom holes, so about 15 to 20 cm of fabric hangs down from the openings.
Add potting mix of your choice and fill each pot halfway up, making sure the wicks are stretched up through the soil (not just along the pot walls or squashed at the bottom).
Plant the pots, adding soil to the brim and water well.
Put them in the already-installed PVC pipe, but leave one pot aside, so one opening is empty. Use it to fill the pipe with water until it reaches the overflow hole; this is also how you top up the pipe and add liquid fertilisers. Place the last pot in the last opening, sealing the system.
Enjoy!
This wicking garden is a simple project and great to do before summer arrives, with the risk of heatwaves and holidays spent away from the garden. Try it, I’m sure you’ll be happy with the results!
Safety note
A complete vertical garden with full pipes, wet soil and advanced plants can have considerable weight. The supporting frame must be able to support this weight and can pose a hazard if inadequately constructed. If you are not sure how to build a suitably strong support, enlist the help of someone who has experience in building such structures.
Margaret’s house will be open on 15 September 2019 for Sustainable House Day. Register to attend here.
Resources:
For another idea, here’s a strawberry planter from Margaret: mosshouse.com.au/natural/gardening/winter-is-for-strawberry-planting
 DIY
DIY
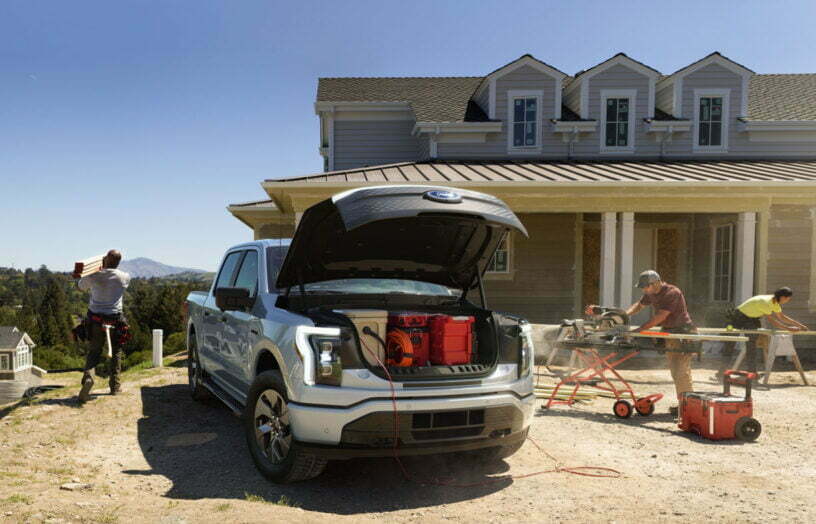
Bring on the electric ute
Bryce Gaton asks, will 2023 be the Australian ‘Year of the electric light commercial vehicle’?
Read more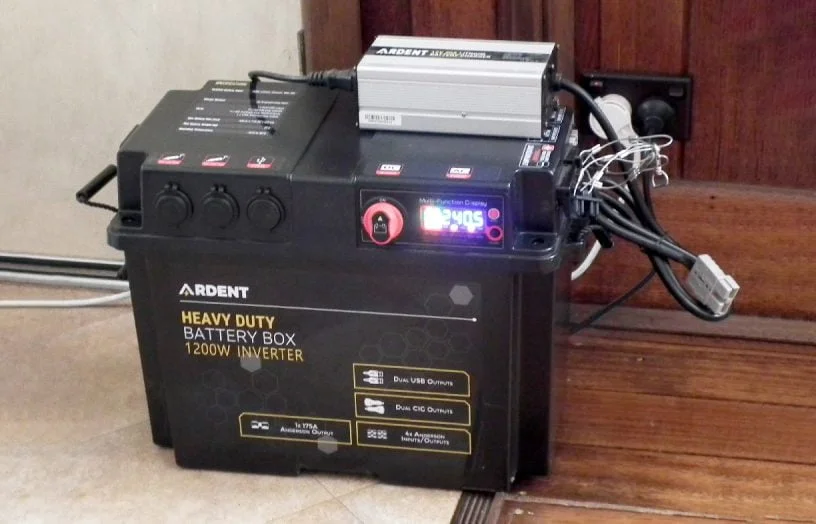 DIY
DIY
Deleting the genset
If you have the need for the occasional use of a generator, then why not replace it with a much cleaner battery backup system instead? Lance Turner explains how.
Read more DIY
DIY
Aussie women: the solar power pioneers
Sun Source was Australia’s first solar panel retailer, started by a hippy woman nearly 50 years ago. Kassia Klinger uncovers the story.
Read more