

DIY: Insulating raked ceilings
Raked ceilings with exposed beams may look nice, but they are near-impossible to insulate. James Stapledon explains how he insulated the ceilings in his home to greatly improve thermal performance.
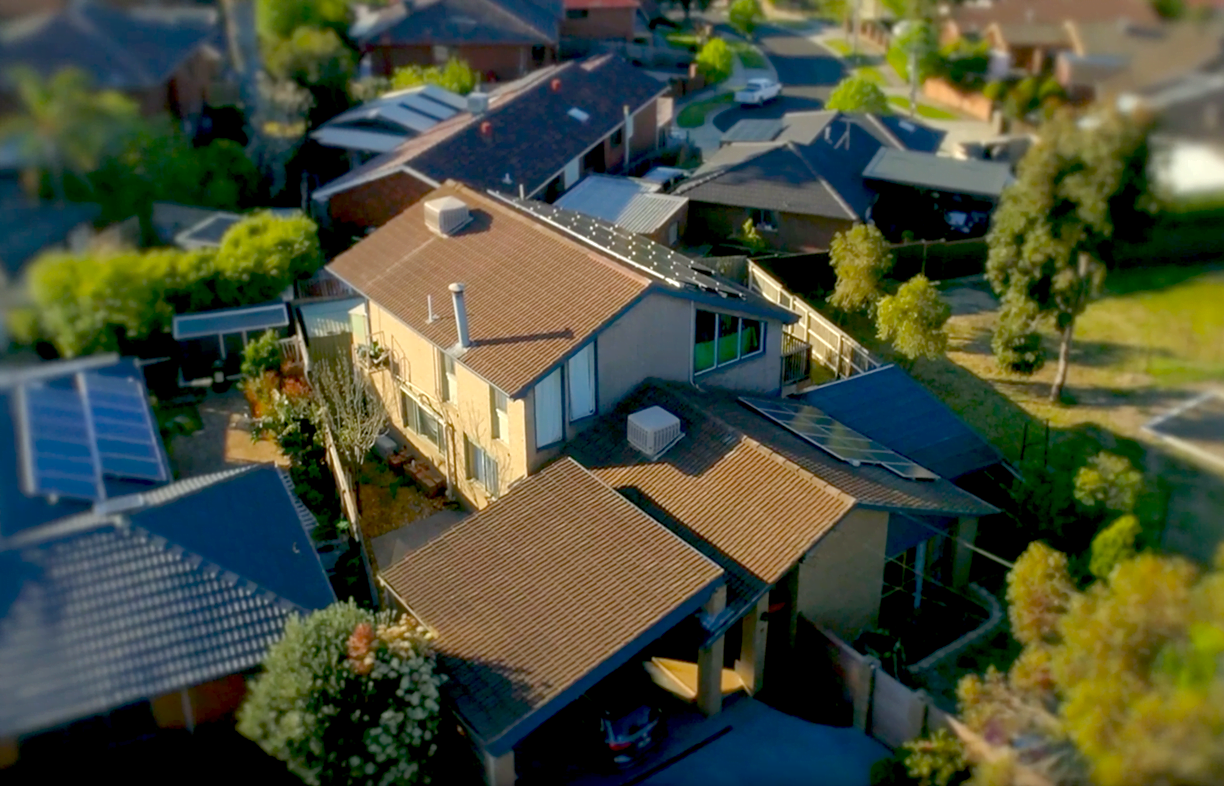
We bought our house in 2015, probably the least energy-efficient and comfortable home in the suburb of Gladstone Park, Victoria—although one bonus was the 2 kW of solar PV already on the roof. We immediately got off the mains gas supply completely, going all-electric. There was already an electric cooktop ready to go and we swapped our hot water heater over to a heat pump. The house previously had gas ducted heating, so we ended up with no heating system and evaporative air conditioners for cooling.
The house is a 1970s AV Jennings kit home with a 1990s second storey. There was practically no insulation in any rooms. Nearly half the house featured raked ceilings with exposed beams; this meant the roof tiles backed onto the cedar ceiling lining, giving us no ability to insulate between the roof and ceiling like you could with a cavity roof.
In the first year we just rugged up whenever it was cold—I’m talking blankets and cuddles on the couch much like the family in Charlie and the Chocolate Factory! The discomfort of this could only last so long though, with constant reminders from the family that we had to do something about it.
At first we didn’t really want to ruin the aesthetic of the ceilings as their appearance was a factor when we bought the house. But we eventually decided our comfort was more important, so I had a chat to some insulation companies and, of course, searched the internet to get some ideas on how to tackle insulating our ceilings.
The majority of the insulation companies said to insulate it all and plaster over it, which we reluctantly decided to trial.
A start above the stairs
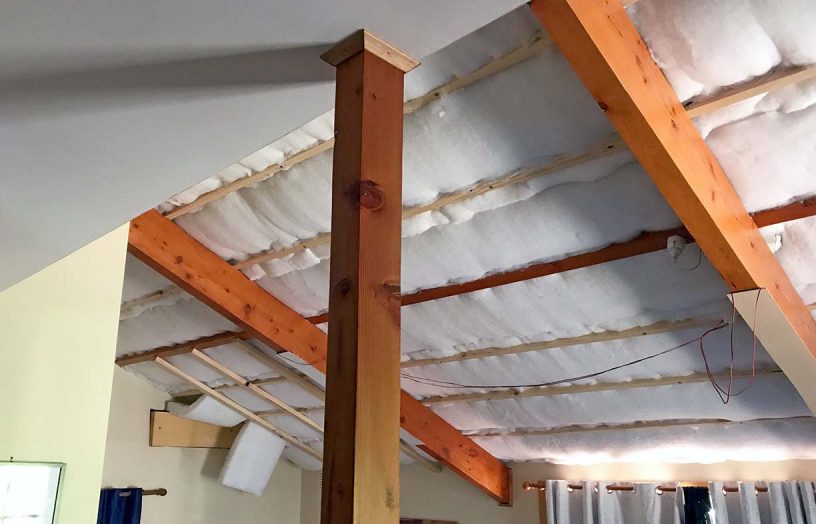
The least annoying place to start with was above our staircase, where there are beams spaced at 450 mm centres running up the ceiling and a large beam underneath running across into the two adjacent rooms. We thought about using insulation batts, but as we looked into it we found that batts weren’t going to work as we had gravity against us. We thought about using straps or some other mechanism to keep them up, but then found out about polyester insulation instead, which comes in rolls and can be stapled in place.
We bought some bags of R 2.5 polyester insulation, which is 140 mm thick when installed. With the depth of the beams being 300 mm we were able to fit two layers of this insulation between each set of beams. We decided to do the same in one of the adjacent rooms that had similar spacing and depth between the beams.
Our home is still fairly leaky and has no double glazing and we could only use our gut/skin feeling to gauge effectiveness. The results surprised us though—there was a noticeable temperature difference compared to the uninsulated adjacent room and, on very cold days, the insulated room stayed warm for longer into the night. The acoustics of the room also improved, by reducing the reflection of sound from the ceiling.
We still haven’t plastered over the insulation in these rooms, so they are our new ‘feature’ ceilings—a feature that visitors often ask about.
Creating a new ceiling cavity downstairs
Realising that this could work in other areas, we looked at the downstairs living room (the coldest room in the house) and the upstairs living space (the hottest) and tried to figure out how to effectively insulate these.
In the downstairs room, there was only one exposed beam running across and two running up the ceiling. Because of the lack of beams, the challenge was how to fix the insulation and plasterboard over a space that didn’t have any fixing points.
As a DIY kind of person I cared less about the aesthetic and more about the result, so I decided to build a new ceiling cavity.
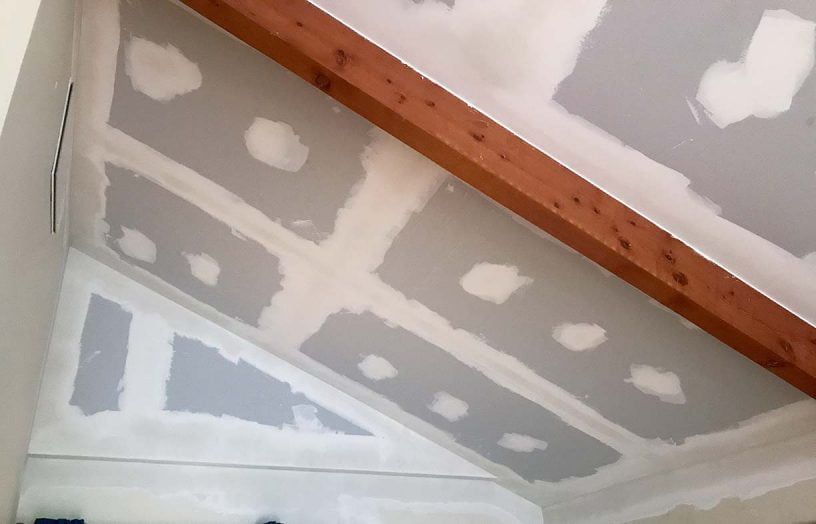
Rather than pulling up the tiles and rebuilding the roof, I decided to build a timber frame inside the beams using long bolts screwed through them into the rafters above. This formed a framework we could use to install the insulation (the same polyester insulation as used previously) and affix the plasterboard.
I left the insulation exposed (without plasterboard covering) for quite a while as it was too dangerous to solo install the plaster sheets without scaffolding—the sheets are awkward to lift on a ladder. Later we got our helpful builder to plaster the ceiling properly.
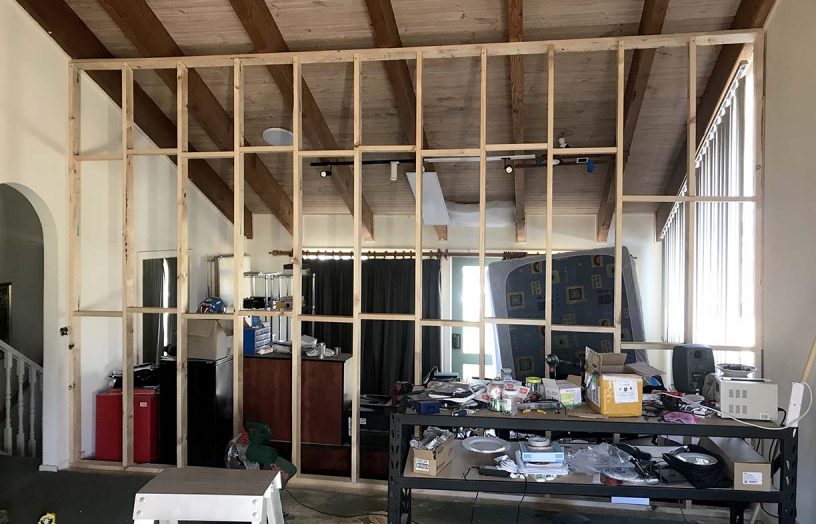
The most difficult room upstairs
This left us with the hardest room still to do. This is the split-level upstairs room, with a height of five-plus metres to the apex. Its beam spacing was too wide for the insulation and we definitely didn’t want to remove the beams visually and weren’t going to move them structurally.
I thought about just copying what we did downstairs by building a frame in between the beams, but I wasn’t really keen on the amount of work required and there were also safety issues given the height of the ceiling.
The beams were bowed and weren’t parallel across any one-metre span. To make things even more complicated, I decided to put up a dividing wall in the room to give us an extra bedroom.
Further research led me to polystyrene insulation, which would allow me to install the plasterboard over the top and screw through it and the insulation into the cedar lining. It would be tricky mounting these as one piece to the ceiling though.
Instead, I remembered seeing an infographic of a prefab plasterboard sheet that had a foil sheet and rigid insulation glued together, which seemed like it would fit the bill perfectly; the hardest thing would be cutting the sheets to the correct size for the varying widths.
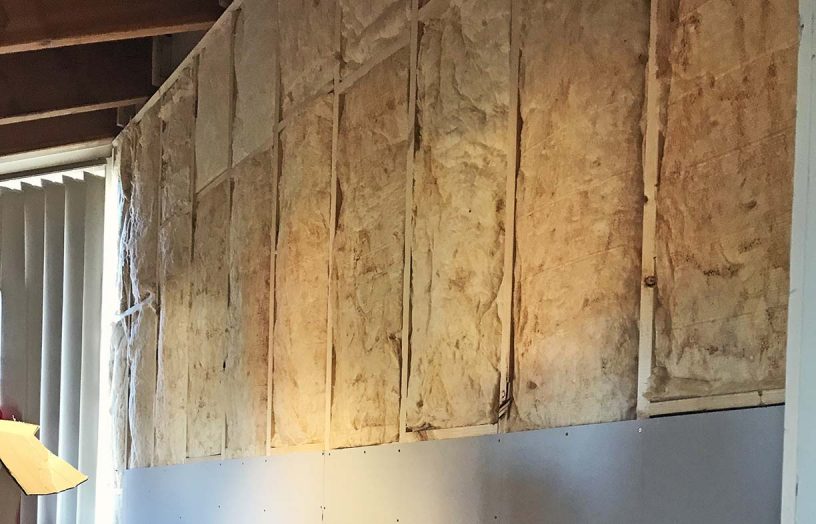
Unfortunately, these are fairly expensive and going through the distribution channels was a painful experience, including issues with incorrect pricing, minimum order quantities and the lack of delivery options. We ended up getting a product called Kooltherm K18 direct from the manufacturer Kingspan.
This consists of phenolic foam bonded to plasterboard on one side and foil on the other. We opted for the 70 mm thick boards with an R value of 3.1—not quite as high as we wanted, but it’s what we could afford at the time. When the sheets were delivered, we had to lift them off by hand, an awkard process—measuring 2700 mm long x 1200 mm wide and in stacks of six, they were awkward to carry.
We tried to minimise wastage, but the spacing between each pair of beams varied from 520 mm to 880 mm, so the wastage factor was pretty high from the 1200 mm wide sheets. I cut each sheet by hand with a long plaster saw, a process which needed some ‘precision’ measuring to ensure they fit between the bowed beams.
With a number of ladders set up, I hand carried each piece and held it in place above my head. I then screwed it in at multiple points with roughly 150 mm spacing in all directions to make sure it stayed attached to the ceiling. This was not at all a pleasant experience, especially when I had to trim the sheets a bit more while trying to fit them.
After completing all the sections, I stapled on some plastic plaster trims to the edges to provide a neat edge against the beams. Then we taped and plastered the sheets together, filled all the holes, plastered the trims in place, sanded back and painted it all.
We also added regular R5 batts into the rooms that had ceiling cavity access and underfloor insulation into the bulkhead walls.We also had help from an electrician to resite the spotlights upstairs; downstairs, the lights were all power point plug-ins, and I was able to handle those.

Substantial work for a substantial result
All this work was quite a mammoth job; I would highly recommend getting help rather than trying to do it by yourself. It took around six months with me doing bits at a time, with help from my wife and my dad, for a total of around four solid weeks of actual work. The effectiveness of these measures is substantial—the rooms stay warm in winter and cool in summer, while the harshness of the summer sun is no longer felt at all in the rooms. We have also added split system air conditioning in these rooms, which doesn’t help the power bill or the bank account, but is very effective for those really harsh days. They don’t run for long—around 30 minutes at a time—and the rooms stay warm for hours on end.
Costings
The total cost for the insulation was under $3000. The Kooltherm K18 sheets, totalling around 58 m2, cost $2150 delivered, or about $37/ m2. The 95 m2 of underfloor insulation cost $720 picked up, or around $7.50/m2. The electrical work and builder assistance cost about $1000.
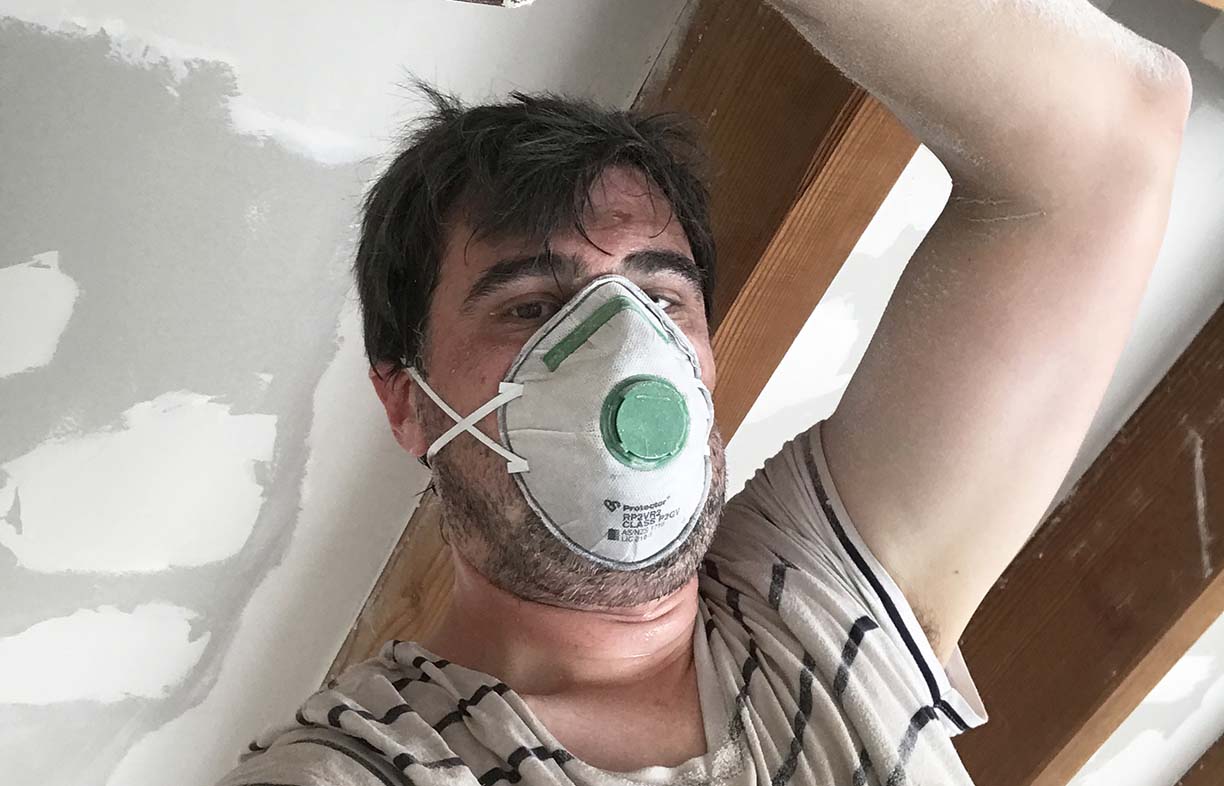
Staying safe
When working at height it is important to use suitable equipment and to maintain a safe work area. Use appropriately rated ladders or scaffolding if available, and don’t work alone in the house in case you have an accident. Appropriate safety equipment should also be used, especially when cutting and sanding cementitious materials like plaster—always use a dust mask and keep others out of areas where there is free-floating dust.
An electrician should be used if any wiring needs to be moved or modified.
Insulation around recessed light fittings should comply with the light manufacturer’s recommendations.
Further reading
 DIY
DIY
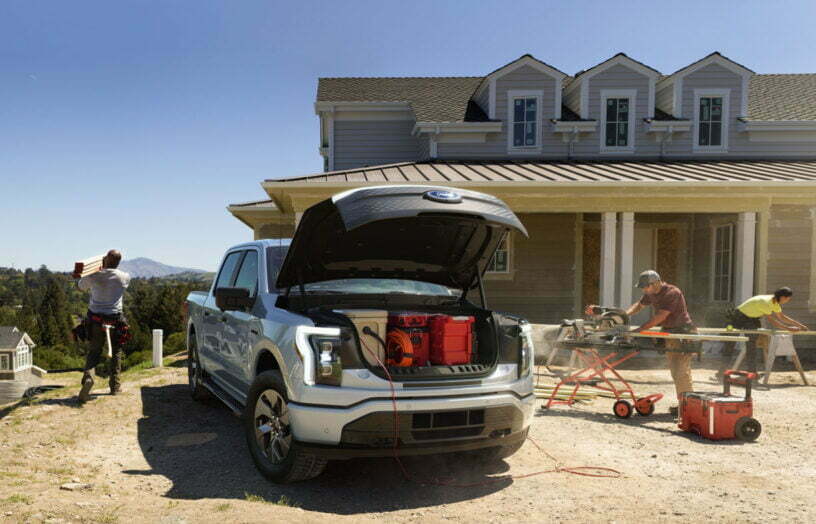
Bring on the electric ute
Bryce Gaton asks, will 2023 be the Australian ‘Year of the electric light commercial vehicle’?
Read more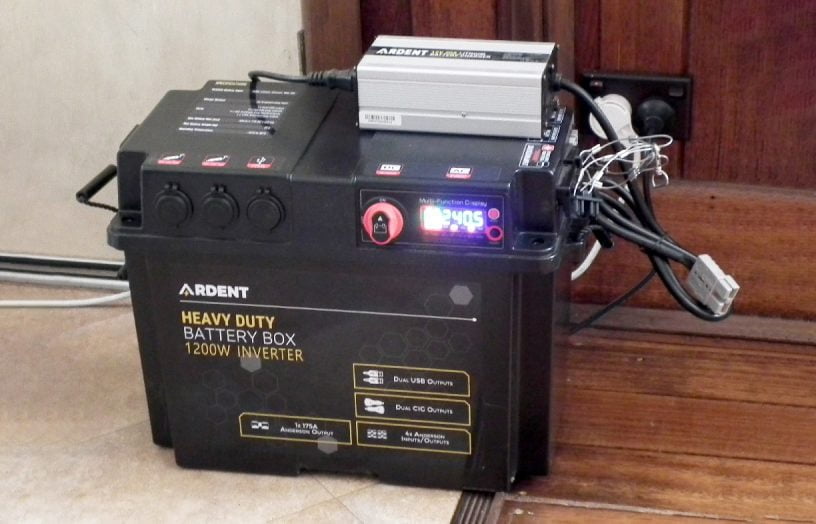 DIY
DIY
Deleting the genset
If you have the need for the occasional use of a generator, then why not replace it with a much cleaner battery backup system instead? Lance Turner explains how.
Read more DIY
DIY
Aussie women: the solar power pioneers
Sun Source was Australia’s first solar panel retailer, started by a hippy woman nearly 50 years ago. Kassia Klinger uncovers the story.
Read more