
DIY: Sheet mulch and hot compost
Fuchsia Branwhite explains the permaculture tricks she uses in her own garden, both to control weeds and produce beautiful non-stinky compost from a wide range of garden waste.
Sheet mulching
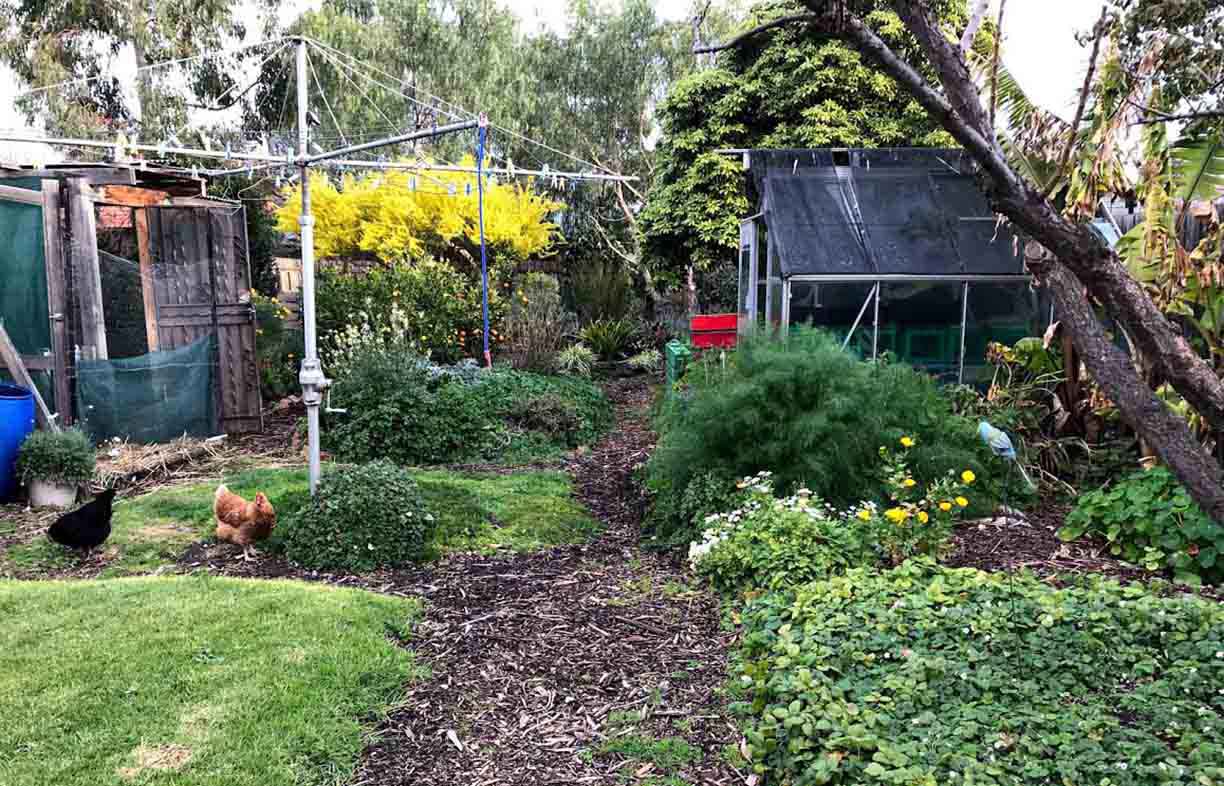
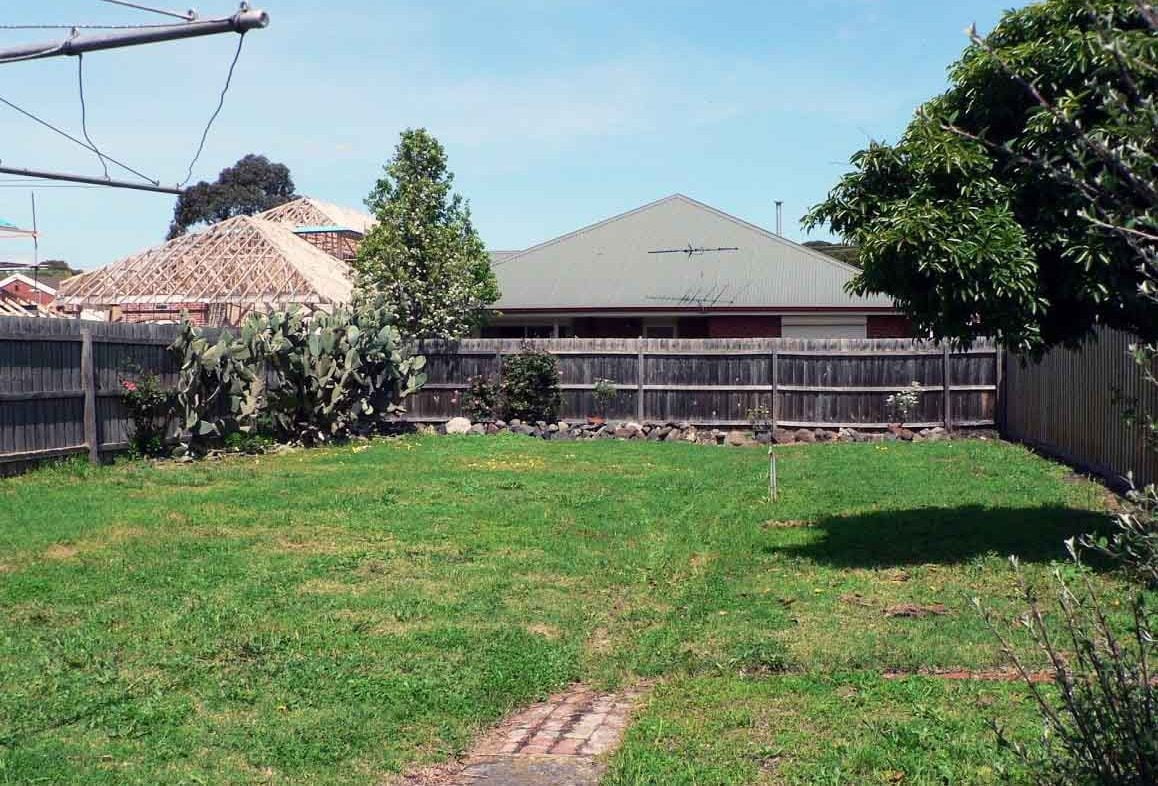
Sheet mulching is a classic permaculture ‘turn the problem into the solution’ trick. I’ve used it extensively in my current garden, mainly to create a food forest, but it’s a technique that’s good for much more than that. It’s so simple!
Instructions
Get a heap of cardboard (sticky tape removed) or newspaper (glossy inserts removed) and soak in a wheelbarrow full of water.
Flatten any weeds in the area. The best and easiest thing to do is to mow the area. Stomping is also good, or cutting with hand shears. Woody weeds need to be removed—these are any weeds that are hard to cut, such as shrubs, trees or woody weeds like nicotiniana (soft weeds would be things like prickly lettuce, dock or dandelion).
Water the area well so the soil is thoroughly damp—the wetter the better.
Scatter whatever soil improvers you have handy. This could be gypsum (if soil is clay), clay (if soil is sand), manure, blood and bone, compost of any grade, worm castings, spare soil, spent potting mix, lawn clippings—the more the better.
Lay the paper thickly, with generous overlap (aim for the depth of a whole weekday paper, opened flat). You can leave gaps to plant small plants or plant larger plants in the area first and then lay paper around them, all the way up to their trunks.
Cover with a thick layer of mulch; 15 cm deep is about right. Use whatever mulch you like or have access to. It could be pea straw, lucerne, barley straw, dry leaves, municipal mulch or wood chips of any description. Bark is absolutely fine: it takes longer to decompose, but that can be an advantage. Some of the straws are higher in nitrogen (such as pea straw and lucerne) whereas the chips and some straws (such as hay and sugar cane) are carbon-based. Choose the right one for what you’re growing, e.g. straw for vegies or leafy plants, wood chips for plants with lower nutrition requirements.
Plant it out. If you haven’t planted already, you can do so now, or just leave it to break down for later use.
Alternatively, instead of steps 6 and 7, after laying paper, top with 2 cm of soil or compost, and scatter seed. Then use a light layer of mulch; the plants (particularly groundcovers) will grow up to keep the weeds at bay. The mulch is much thinner here as you don’t want to suppress the growth of the seed you’ve planted.
Sit back and enjoy your brand new garden! The worms and other soil organisms will do all the hard work for you by eating the rotting vegetation under the paper, leaving their castings behind and fluffing up the soil in the process. Minimal weeding should be required after that. The technique works on most kinds of weeds. How long it takes varies depending on the quantity of soil organisms in the soil when you begin. If unsure you can always peel back a section and check if anything is still regrowing underneath, making sure to tuck everything back in place afterwards, so no light can get through.
Possible problems when sheet mulching
It’s tricky if your ground is lumpy or levels are all over the place as it can be hard to get the newspaper to sit in contact with the ground. Level the area first if you can and soak the paper thoroughly so it softens completely and melds to the soil surface.
Sometimes the ends of the paper will stick out from under the mulch and look a bit ugly. I solved this by edging beds with old bricks, which also help to keep the mulch in place (even when there are birds scratching at it).
It may not resolve weeds like kikuyu, which puts out long runners that could reach out from under the sheet mulching. Remove any little rascals that pop out around the edges until the root system dies off.
I’ve not had weeds grow back in areas I’ve treated like this, except kikuyu as mentioned, and not even a lot of that even though I started with a huge expanse of it. I’ve found it works on oxalis and onion weed.
In the rare event that weeds persist, you can just pop more paper and mulch down as ‘spot treatments’.
In the longer term, weed seed can still blow in or be brought in by birds to recolonise the area. But if they do, they should be easy to keep on top of as they won’t have well-developed root systems for some time so you have a clean slate to work from.
It may not always work on the woody stuff, such as a weedy tree that you’ve cut down, simply because the root systems are so large underground. One example of this from my garden is prickly pear. I had a forest of them and had to use a machete and hot compost, which is a lot more work! Having said that, I did use it successfully after cutting down a large weedy shrub (cotoneaster). It worked, it just looked a bit lumpy and because the area wasn’t flat the mulch would slide off and reveal the paper underneath—ugly!
Hot compost
I have about half a dozen different composting methods up and running in my garden and hot compost is by far my favourite. It’s ideal for dealing with large amounts of mixed garden waste, stuff that won’t fit in your green or compost bin or your worm farm. It’s also perfect for aggressive weeds, as the heat, if done properly, will kill off vegetative matter. It will also kill seed, pathogens and other nasties.
It is so quick and convenient, producing a huge pile of usable compost, instead of the small, sticky, stinky pile of barely usable stuff you might get out of a typical mis-managed or unmanaged compost bin. Some downsides are that it takes regular time commitment and a bit of space—plus turning it is quite the workout!
Instructions
You will need two 1 m2 spots—one spot for your heap and one to turn the heap onto. I made three double bays out of packing pallets and star pickets and they work very well. I’ve got one working bay, with a spot for the heap and for turning it into; one finished bay that is resting; and one bay to stockpile ingredients for the next heap or to store excess compost.
You want your heap to be at least one metre high—this is important—so having some kind of support to lean it up against (or even having it contained on all sides if you want to go all out) is an advantage. Don’t use a fence as it might get composted too!
It is handy to be able to cover your heap. This will help retain heat and also allow you to regulate how wet it gets from rain. The heap will settle a bit over time and that’s OK.
Next, gather your materials to compost. You want a mix of ‘browns’ that are rich in carbon, such as hay, woodchips, dry clippings, dead leaves, dry weeds and dry lawn clippings. You also want ‘greens’ that are rich in nitrogen, such as lucerne or pea straw, clippings that are still fresh, used coffee grounds, manure, green weeds and blood and bone. You can use vegie scraps, but I tend to put them in my worm farm instead, as they can attract vermin. Without the kitchen scraps, there is nothing in the heap of interest to rats, mice or crows.

The proportions are key: you want to aim for about 2/3 ‘brown’ to 1/3 ‘green’.
Chop up everything as much as you can. The more you do this, the quicker and better the compost. You can cut it with hand tools, spread it out on the lawn and run over it with a mower (not for anything too woody), or even just break it apart by hand. I eventually invested in a mulcher, which supercharges the process and reduces the initial large pile of waste to a much more manageable size.
Then it’s time to build your pile. Layer first browns then greens, remembering the ratio of 2/3 brown to 1/3 green, until your heap is about 1 m x 1 m. I usually start with a woody layer that will act as drainage. Then I just build the heap layer by layer, with each ‘brown’ layer being maybe a foot thick and each ‘green’ layer around a third of that. But it doesn’t need to be perfect; it will soon be all mixed up anyway. As long as your proportions are roughly right and the heap is nice and damp, everything should work fine.
Wet down each layer thoroughly as you go. This is the essential first step to kick things off. Lignins (which make woody plants woody and rigid) will soften and beneficial mycelium (fungi) and bacteria will move in.
Once it’s built, leave it for four days. After this time, you should see that it’s heated up considerably if you dig into the heap a little. It’s not unusual to see steam coming off! You will also notice a lovely earthy fragrance, like a forest floor. You may also see silvery filaments, evidence of the fungal activity in the heap.
Then turn it over completely every second day (this is where it helps to have a free spot next to the heap) until it stops cooking or you’re happy with the result. It should take about three weeks, but it may take longer if the process is slowed for some reason; for example, if the initial ingredients weren’t broken apart/cut up/chipped enough. Ideally, even leaves should be crushed, as any break in the skin of the material will assist the process. In hot weather it can bake and dry out, which can also cause a delay, or in winter it can get drenched and cold, also slowing the process.
When turning your heap, try to get the stuff on the outside into the inside, and vice versa. Once the aerobic bacteria doing the work have dissipated, the heap will cool down naturally. Just leave it a week or so and you will see the worms, slaters and other friends move back in. Then you know it’s ready to use. This whole process can take as little as a month or so.
Use straight on garden beds, or get a sheet of mesh, place over your wheelbarrow and sift it, to leave you with a beautiful fine mix suitable for mixing in with your potting mix, raising seed or cuttings, or whatever you fancy. The leftover bigger bits can then be used to start your next heap!
Possible problems when building a hot compost
One potential problem is that the heap doesn’t heat up. This is usually due to not enough ‘greens’ or it not being damp enough. The heap could also get a bit sludgy or whiffy if you don’t use enough ‘browns’ or aerate it sufficiently.
Further reading
 Products
Product profile: Pods for veggies
With the cost of food trending rapidly upwards, the move to growing food at home has become a popular one. While it’s easy if you have a garden, what do you do if you don’t?
Read more Water saving
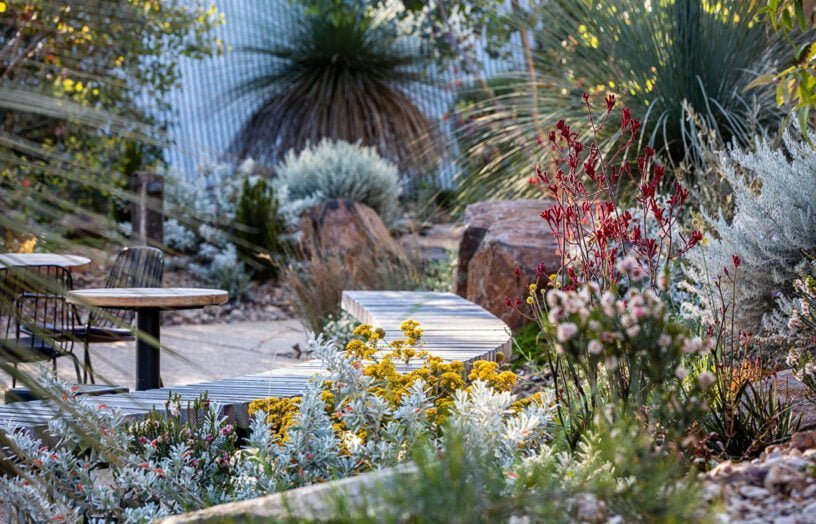
Nurturing your native garden
Just how much maintenance do you need in a native garden? Robyn Deed gets some tips from landscaper Haydn Barling on how to sustain a beautiful, biodiverse garden in the suburbs.
Read more