Double glazing on the (very) cheap
You can improve the performance of your old single-glazed windows with a common and low cost retrofit material. And even renters can do it!
Poorly performing windows are the bane of anyone striving to make their home more energy efficient.
Improving window performance means either upgrading the windows (or just the glass), or applying some form of secondary glazing. For renters or the seriously budgetarily constrained, window upgrades come down to applying some form of easily removable film.
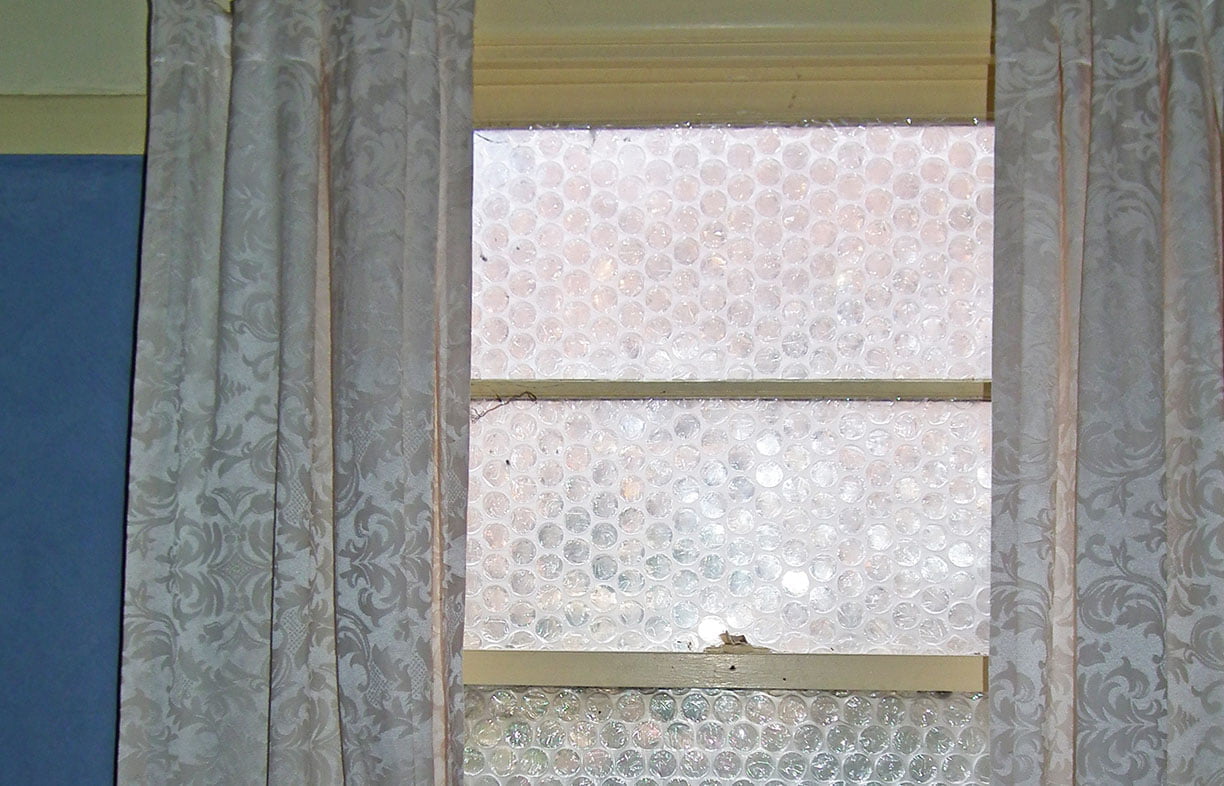
The simplest and lowest cost option is what’s known as bubble glazing—applying a layer of bubble wrap to the glass to provide a level of insulation. Not only does this greatly reduce heat loss in winter, by preventing warm, moist air in the room from coming into contact with the cold glass, it also prevents the bulk of condensation.
Which bubble?
There are a number of different types of bubble wrap available. For windows where you want insulation and light, but don’t necessarily want to be able to see out (or in, if you want added privacy), the common 10mm bubble wrap available almost everywhere, including your local post office or hardware store, is the simplest material.
This bubble consists of two layers—a flat backing layer, and the bubbles themselves. For this material you can fit it to the glass with the bubble layer against the glass. This traps air between the glass and the back sheet, as well as the bubbles themselves, so creates a better insulative layer.
For a more robust installation, you can buy bubble wrap with a flat layer on both sides. This is less prone to popped bubbles and is easier to affix to the glass, as you are sticking down a flat surface to the glass, not lots of dome-shaped bubbles.
For better visibility through the glass, larger bubbles are ideal, and you can get 20mm and 30mm bubbles. The 20mm material is also available with a single flat side, or double flat sides. There is even a 30mm bubble size version available, which I used for several windows at home, and you can still see reasonably well through them (sort of), certainly better than the 10mm bubble material. I bought the single sided version (accidentally) and it still worked fine. Also, try to get bubble wrap wide enough to cover the glass without joins—if joins are unavoidable, seal them with clear adhesive tape once the bubble is in position. Also, don’t buy biobubble or similar degradable bubble wraps, unless you want it to fall apart after a few months!
For an added level of insulation and light blocking, you can buy silver foil versions of bubble wrap. This is used for packaging perishable goods, but there are insulation-grade versions of it as well, such as AIR-CELL Insulwhite, but they are a lot more expensive than regular bubble wrap, though!
Installation
Installation of bubble glazing is simple—clean the glass (use a cleaner that leaves no residue), cut the bubble wrap to fit the glass exactly, and fix it in place with double-sided tape around the full perimeter of the glass. Don’t stick it to the frame, just directly to the glass. You can just stick it up in a few places, such as at each corner and one or two dots along each side, but bear in mind that while this makes it easier to install and remove, it doesn’t provide a barrier against insects, which will invariably get between the bubble and the glass and then expire. A full perimeter seal will prevent this.
For a near-invisible finish, the best tape to use is clear polyester tape. However, this is a permanent tape, so for easy removal, removable “nano” (gel) tape (also called poster tape) is the best option. Another option is double sided tissue tape, not quite invisible, but thin, low cost, and semi-removable. These are available from Get Packed (getpacked.com.au), as is the metalised bubble wrap material, but it shouldn’t be too hard to find these materials locally. A quick-and-dirty method is to simply dampen the glass with water and apply the bubble side to the glass—but it may or may not stay put over time.
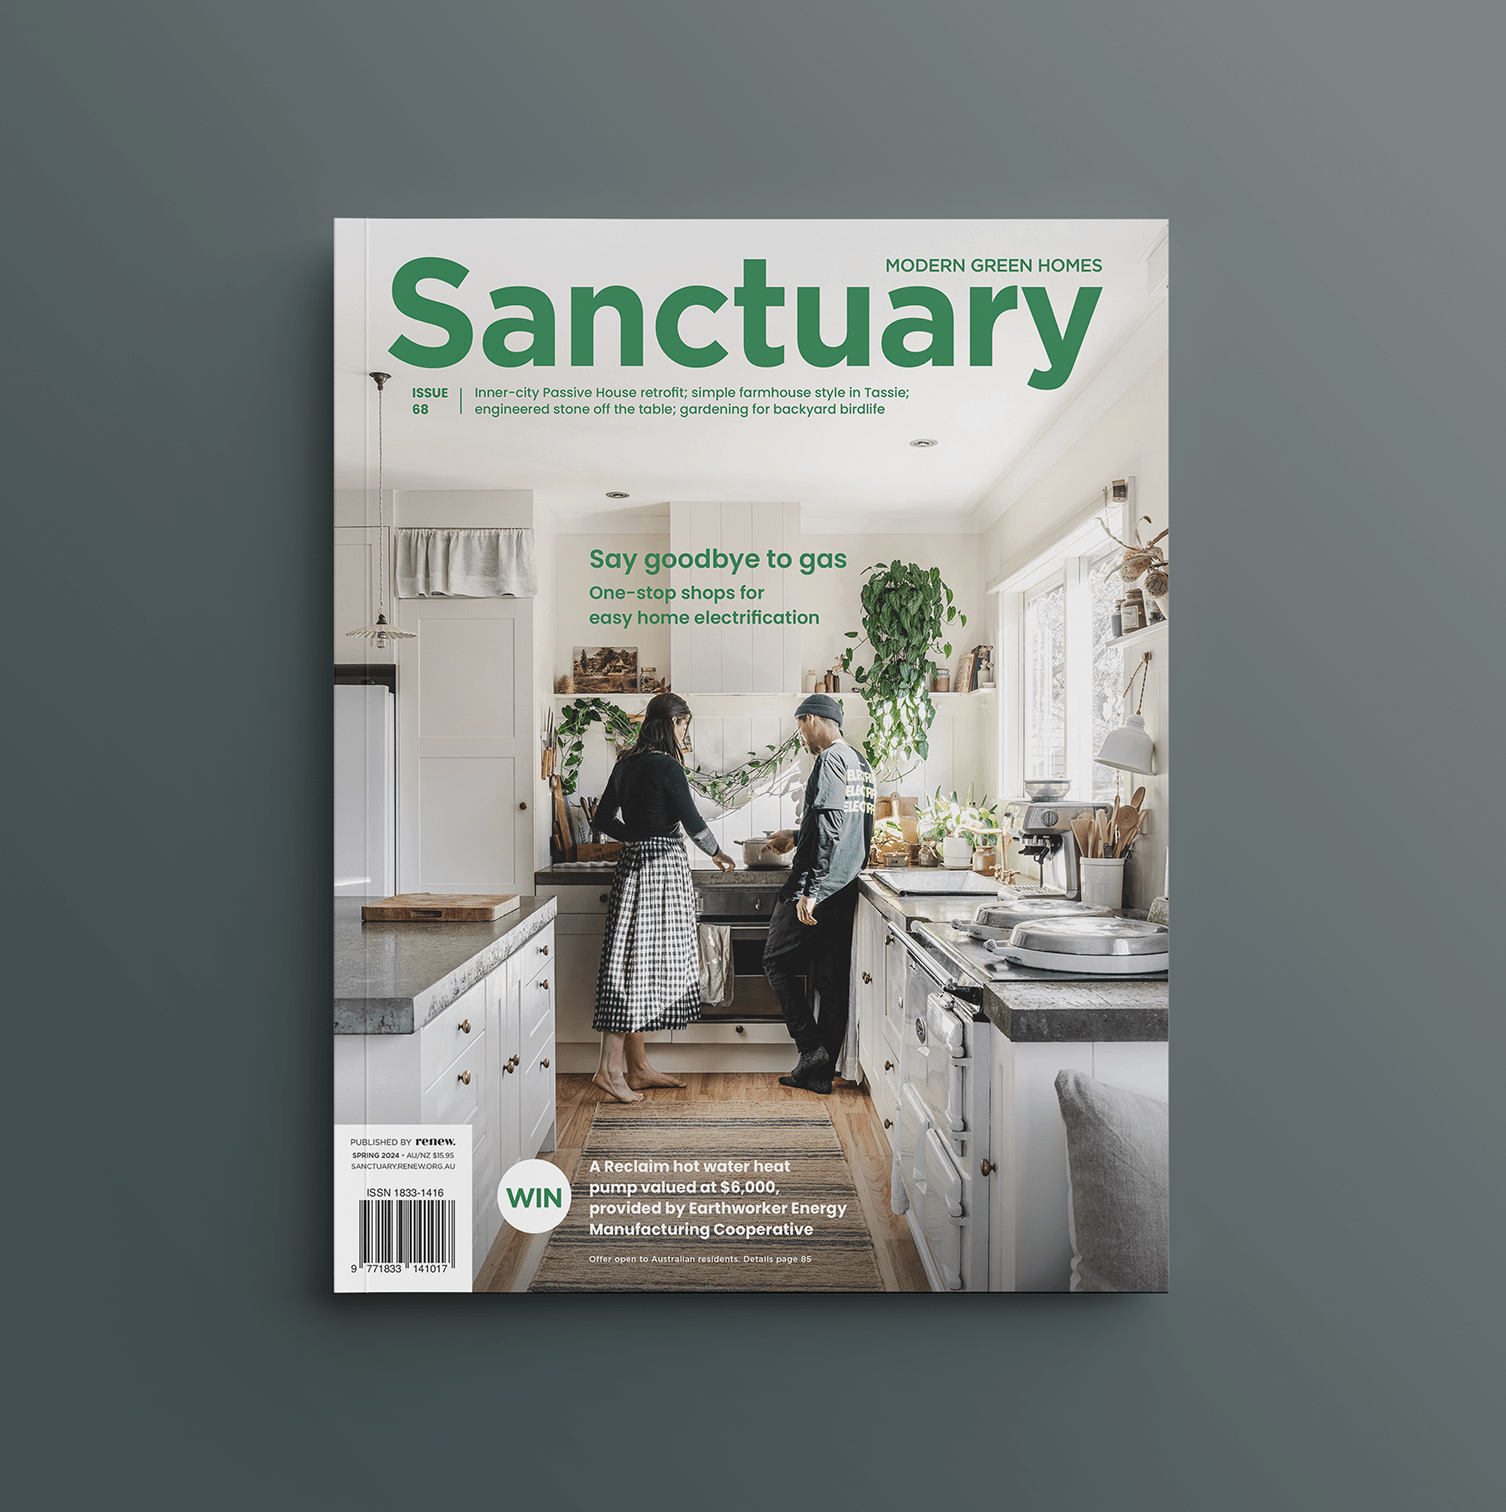
For more on what renters can do to improve energy efficiency, please purchase Renew 168.
Further reading
 Efficient homes
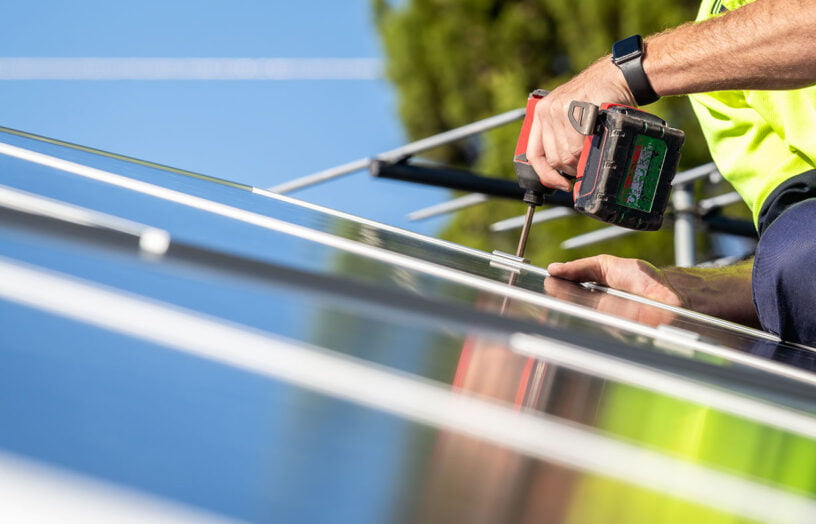
Tradies and the transition
Do we need as many tradies for electrification as many think? Not if we are innovative, writes Alan Pears.
Read more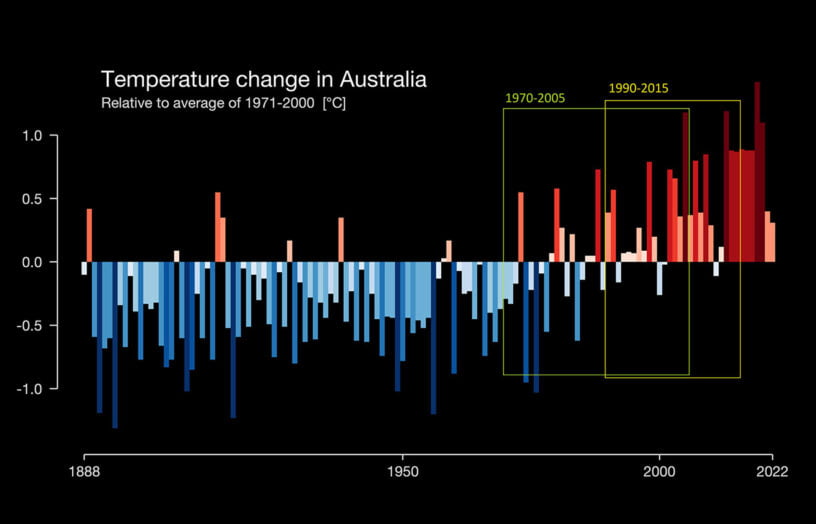 Efficient homes
Building for a changing climate
Are we building homes for the future, or for the past? Rob McLeod investigates how climate change is impacting home energy ratings and the way we build our homes.
Read more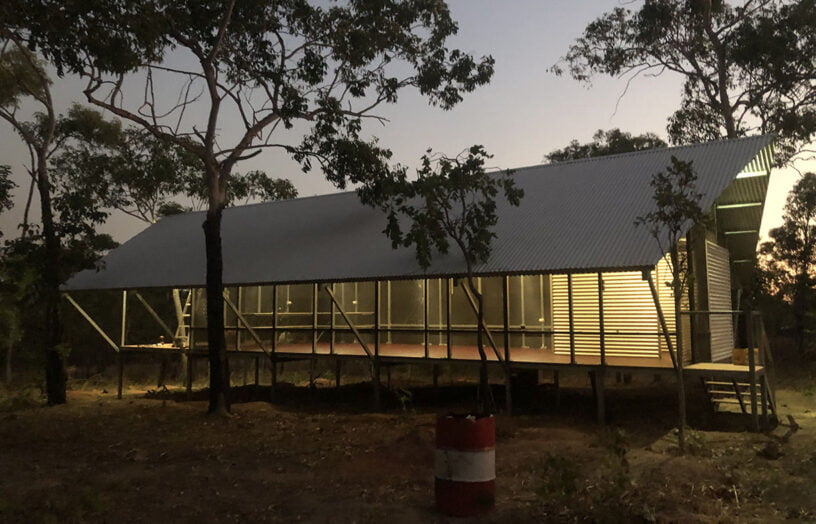 Efficient homes
Remote communities leading the charge
We learn about four sustainability and renewable energy projects in remote Australia.
Read more